Let’s be real—cleaning your vape tank is like flossing: we all know we should do it, but most of us skip it until our mango juice tastes like last week’s mint (yuck ![]() ). I once went 6 weeks without cleaning my VAPORESSO iTank T, and the gunk buildup was so bad, I thought a tiny monster had made a home in there. Spoiler: It was just sticky juice residue and coil gunk. But after mastering this 5-step routine, my tank stays sparkly, and my flavor is always on point. Here’s how to clean your vape tank like a pro—no fancy tools required.
). I once went 6 weeks without cleaning my VAPORESSO iTank T, and the gunk buildup was so bad, I thought a tiny monster had made a home in there. Spoiler: It was just sticky juice residue and coil gunk. But after mastering this 5-step routine, my tank stays sparkly, and my flavor is always on point. Here’s how to clean your vape tank like a pro—no fancy tools required.
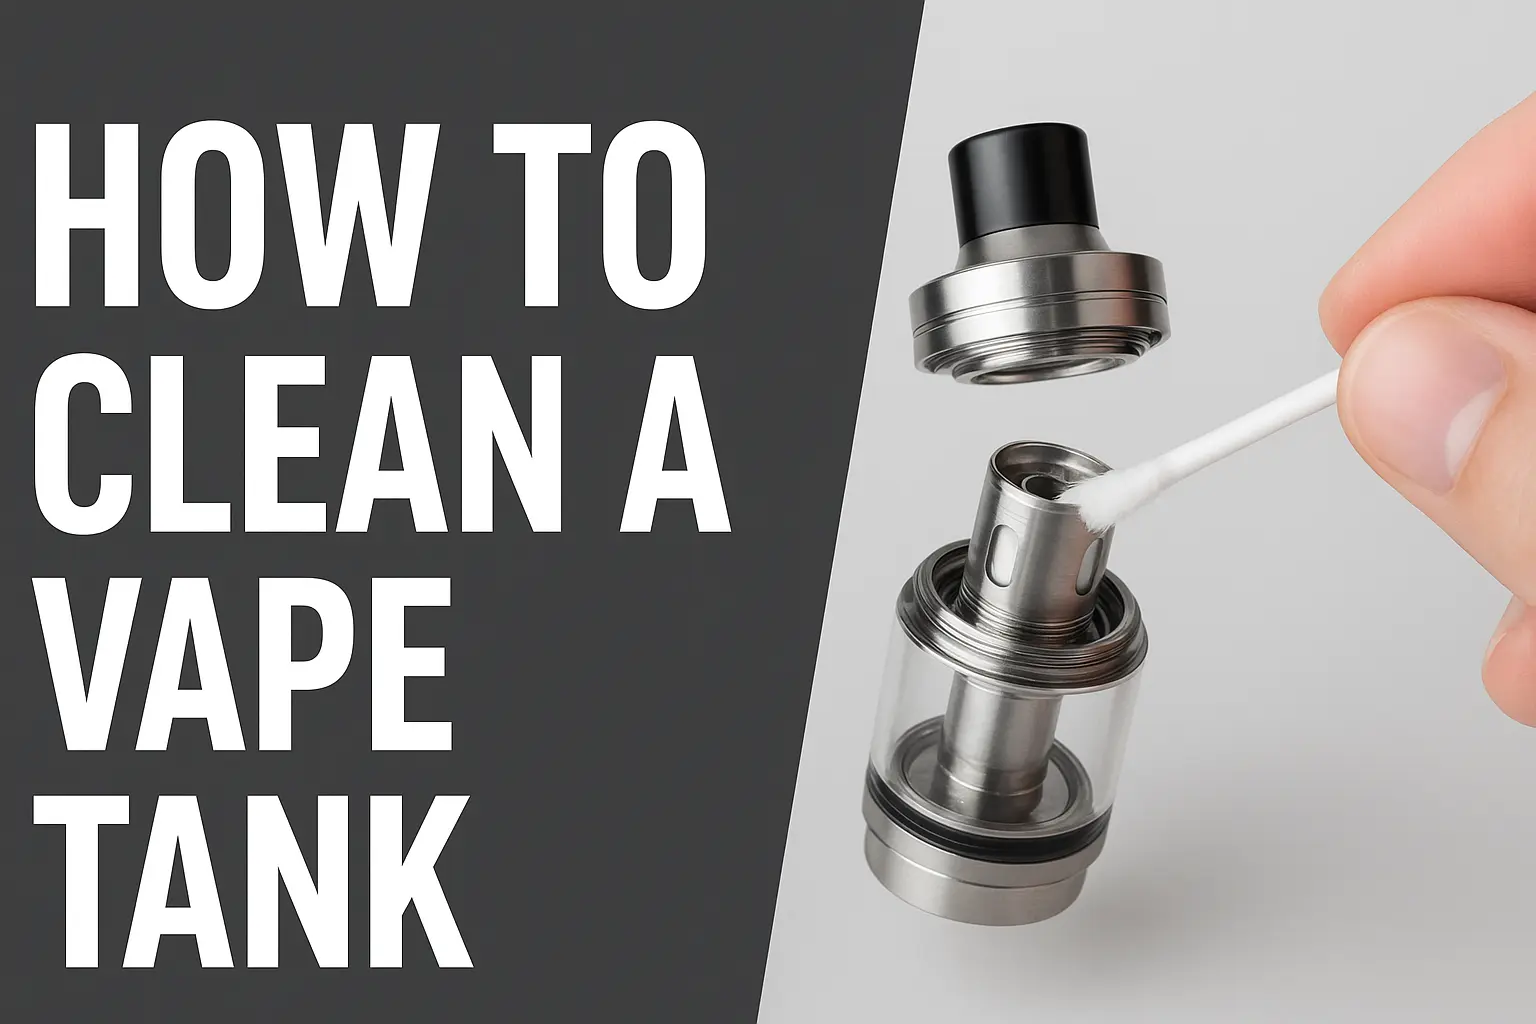
Step 1: Disassemble Like You’re Solving a Puzzle 
First, turn off your mod and disconnect the tank (safety first!). Take it apart piece by piece: remove the mouthpiece, glass tube, coil, o-rings, and base. Pro tip: Lay everything on a paper towel—you don’t want to lose those tiny o-rings (they’re the vape version of socks in the dryer ![]() ). If the coil is super gross (burnt, black, or gunky), toss it—cleaning won’t save a dead coil.
). If the coil is super gross (burnt, black, or gunky), toss it—cleaning won’t save a dead coil.
Step 2: Rinse with Warm Water (No Soap!) 
Hold each part (except the coil!) under warm running water. Scrub gently with your fingers to loosen gunk—for stubborn spots, use a soft-bristled toothbrush (old one, not your morning brush!). Avoid soap at all costs—even a tiny bit will leave a weird aftertaste that ruins your juice. I made this mistake once with dish soap, and my watermelon juice tasted like bubble bath for a week. Never again.
Step 3: Soak the Stubborn Bits (Vodka Optional!) 
If your tank has hard-to-reach gunk (looking at you, base and mouthpiece), soak them in warm water for 15-20 minutes. For extra tough residue, add a splash of vodka (yes, really!)—it dissolves sticky juice faster than you can say “clouds.” Just rinse thoroughly afterward—you don’t want to vape vodka (trust me, it’s not a good look).
Step 4: Dry Completely (Patience Is Key!) 
This is the most important step—wet tanks = leaks and flooded coils. Pat each part with a paper towel, then let them air-dry on a clean towel for 1-2 hours (or overnight if you’re lazy). Don’t use a hair dryer—heat can warp plastic or damage o-rings. I once rushed this step and had a leaky tank mid-commute—sticky mango juice on my jeans? Not ideal.
Step 5: Reassemble & Refill (Fresh Flavor Awaits!) 
Once everything is bone-dry, put the tank back together. Pop in a new coil (or a clean one if you saved it), prime it with juice, and let it sit for 5 minutes. Refill with your favorite e-juice, and take that first hit—pure, unadulterated flavor that tastes like new. It’s like giving your vape a spa day, and it’ll thank you with smoother puffs and no cross-flavor contamination.

Pro hack: Clean your tank every 1-2 weeks (or whenever you switch flavors) to keep it in top shape. It takes 10 minutes, and it’s way cheaper than buying a new tank.
Ever had a gunk disaster? Or have a secret cleaning trick (like using rice to scrub)? Drop a comment—I need to add more wins to my vape maintenance playbook. Happy (clean) puffing! ![]()